Cereal Box Notebook: Bind a Small Notebook with Scrap Paper
Make a pocket notebook with a cereal box cover and scrap paper pages, sewn with a simple three-hole pamphlet stitch. Includes cutting sizes, hole positions and the stitch order.
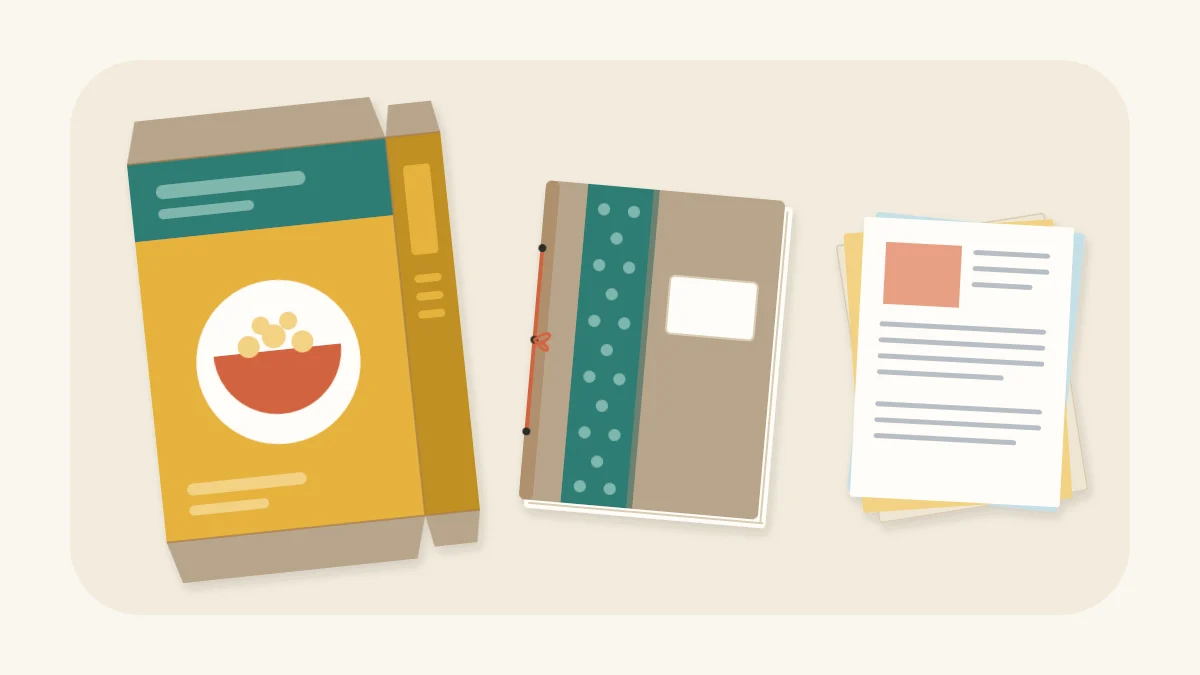
Tutorial at a glance
Materials
- 1 empty cereal box, clean and dry
- 4 sheets of letter-size scrap paper
- Strong thread, about 20 in (50 cm)
- Paper scraps for the cover
- Glue stick
- 2 clothespins
A cereal box notebook uses two things most homes have too much of: empty boxes and paper printed on one side only. The box becomes a stiff cover, the paper becomes the pages, and a single length of thread holds everything together.
The binding is a three-hole pamphlet stitch, the simplest sewn binding there is. It needs no glue and no special equipment, and the finished notebook opens flat enough to write in comfortably.
What you need
- 1 empty cereal box, clean and dry
- 4 sheets of letter-size scrap paper
- Strong thread, about 20 in (50 cm): embroidery floss, linen thread or doubled sewing thread
- A needle with an eye large enough for the thread
- A pushpin or awl, plus a folded towel or piece of corrugated cardboard to push into
- Scissors, craft knife, metal ruler, cutting mat and pencil
- Paper scraps and a glue stick for the cover
Choosing paper for the pages
Almost any flat, clean paper works. Sheets printed on one side give you a blank face on every other page once folded with the print inward. Large envelopes can be slit open and cut down, and unused pages torn from old school notebooks add lined paper to the mix.
Mixing paper types is part of the look, but keep the weights similar. One heavy sheet among thin ones makes the fold bulge. Avoid creased, glossy or greasy paper, which is unpleasant to write on.
Cut the cover and pages
This notebook finishes at about 4 1/4 x 5 1/2 in (11 x 14 cm), a pocket size that comes from cutting letter paper in half.
- Open the box along its glued seam and flatten it. Cut out one large panel, front or back, avoiding the factory creases.
- On the plain inside of the panel, mark a rectangle 8 1/2 x 5 1/2 in (21.5 x 14 cm). Cut it out with a craft knife against a metal ruler on a cutting mat, using several light passes and cutting away from your hand.
- Cut each sheet of paper in half across its width to make eight pieces, each 8 1/2 x 5 1/2 in (21.5 x 14 cm).
Scissors work for the paper, though a knife and ruler give straighter edges. If knife work is new to you, the guide on how to cut cardboard cleanly explains the technique and how to score a fold line.
Fold the pages and the cover
Fold each of the eight pieces in half, short edge to short edge, and run a thumbnail or the back of a spoon along the crease. Fold them one at a time, since a stack folded together creases unevenly. Then nest them inside each other to make one booklet, which bookbinders call a signature.
For the cover, score before folding. Draw a line down the center of the plain side, 4 1/4 in (10.75 cm) from each short edge, and press along it with an empty ballpoint pen or a blunt knitting needle against the ruler. Fold along the score with the plain side out if you plan to decorate it, or the printed side out if you like the box graphics.
Slip the signature inside the cover and tap the top edges on the table to line everything up.
Punch three holes
Open the booklet to the center and lay it on the folded towel. Mark three points in the crease with a pencil: one in the middle, and one about 1 in (2.5 cm) from the top and bottom edges.
Hold the pages firmly and push the pushpin straight down through each mark, through all the paper and the cover. Wiggle it slightly so the needle will pass easily. Clothespins on the top and bottom edges keep the layers from shifting.
Watch out
Keep the fingers of your holding hand well to the side of the fold and push the pin down into the padding, never toward your palm. When crafting with children, an adult should do the punching and the knife cuts.
Sew the pamphlet stitch
Thread the needle with a single length and do not knot it.
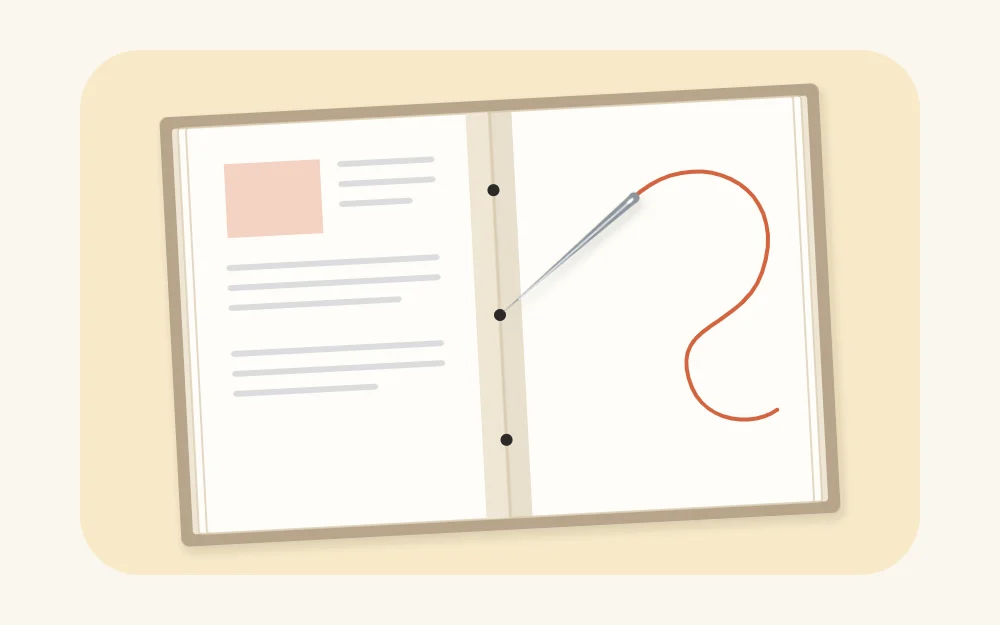
- From inside the booklet, push the needle out through the middle hole. Leave a tail of about 3 in (8 cm) inside.
- On the outside, move up the spine and come back in through the top hole.
- Inside, skip the middle hole and go out through the bottom hole. This makes one long stitch down the center fold.
- On the outside, move up the spine and come back in through the middle hole, bringing the needle up on the opposite side of the long stitch from the tail.
- Pull both ends gently toward the top and bottom to take up the slack, then tie them in a double knot over the long stitch. Trim the ends to about 1/2 in (1.3 cm).
Tip
Pull the thread along the line of the fold, not straight up from the paper. Pulling upward can tear the holes into slits.
Trim the fore edge
Close the notebook and look at the edge opposite the spine. The inner pages stick out a little past the outer ones, because each sheet wraps around the ones inside it.
For a square edge, lay the closed notebook on the cutting mat, set the metal ruler about 1/8 in (3 mm) in from the edge and press down hard. Cut with many light strokes, letting the blade work through a few sheets at a time. A stepped edge is fine too if you would rather skip this cut.
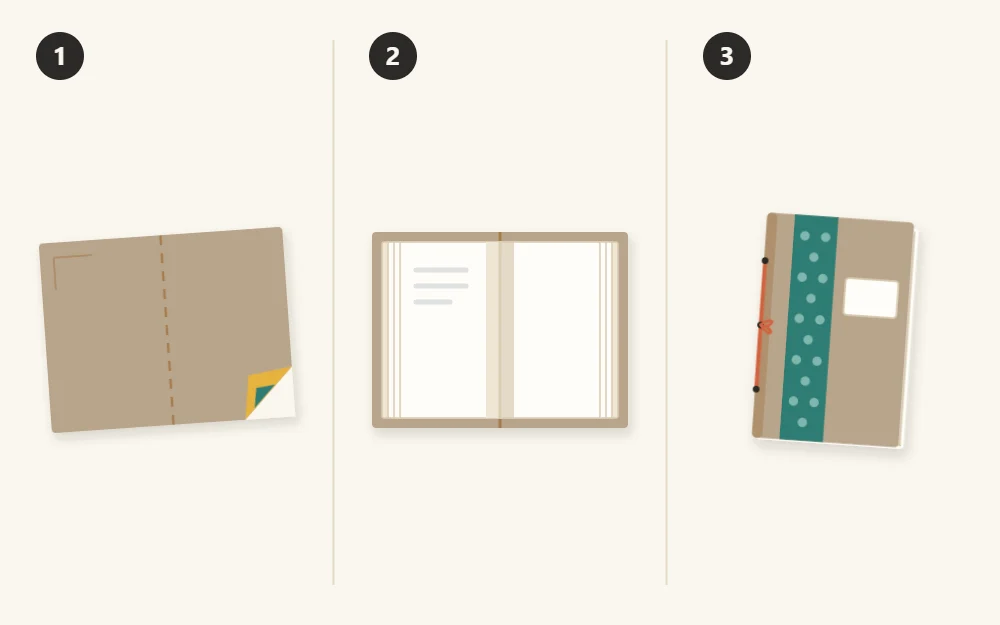
Decorate the cover
The gray-brown inside of cereal box card takes pencil, marker and glue stick well. A few simple options:
- A strip of patterned paper glued down the front, near the spine or across the middle
- A blank paper label for a title or a date
- A band of masking tape wrapped over the spine before sewing, which also strengthens the fold
- Corners rounded with scissors so they do not catch in a pocket
Press the finished notebook under a heavy book overnight to flatten the fold. Leftover strips from the pages are a good size for scrap paper bookmarks, and a second box can become a cereal box magazine holder to keep a growing set of notebooks upright on a shelf.
Frequently asked questions
How many pages can a pamphlet stitch notebook hold?
A single sewn booklet works well with about six to ten folded pieces of ordinary paper, which gives twenty-four to forty pages. Beyond that the fold gets bulky, the notebook springs open and the inner pages stick out a long way. For a thicker book, make two thin notebooks instead.
What thread should I use to sew a notebook?
Any strong thread that does not stretch will do: embroidery floss, linen or waxed thread, thin cotton twine or ordinary sewing thread doubled over. Very thin single thread can cut into the paper over time. Choose a color that suits the cover, since two stitches show on the spine.
Can I make the notebook without a craft knife?
Yes. Scissors cut both cereal box card and paper, although long edges come out less straight. Mark the lines with a ruler first and cut slowly. Skip the final trimming of the fore edge, which needs a knife, and leave the page edges slightly stepped.