Cereal Box Magazine Holder: A File Organizer in Four Cuts
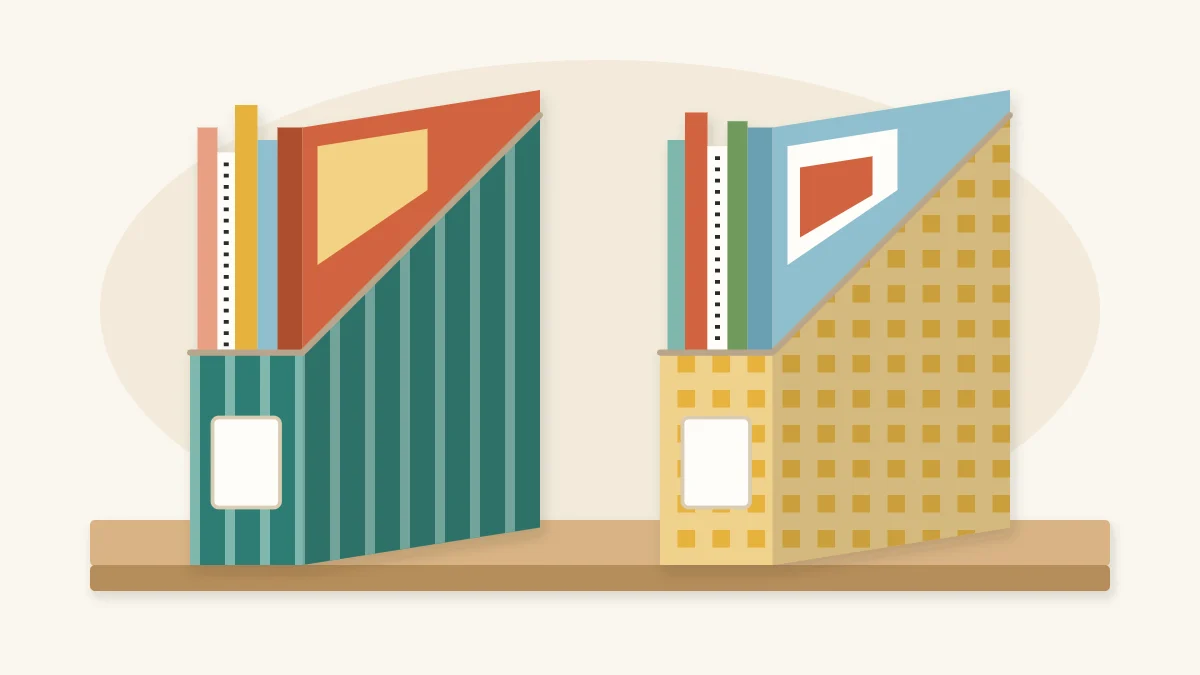
Mark one diagonal on a cereal box, make four cuts, then reinforce and cover it for an upright file that holds magazines, notebooks and loose paper.
Tutorial at a glance
Materials
- 1 empty family-size cereal box, clean and dry
- Extra card or corrugated cardboard for the base and spine
- Decorative paper or fabric, enough to wrap the box, or acrylic craft paint
- White (PVA) glue or a glue stick
- Masking tape
- Plain card, about 1 1/2 x 3 in (4 x 7.5 cm), for the label pocket
A cereal box magazine holder takes four cuts and about ten minutes to shape, and it turns a pile of magazines, notebooks or loose paper into a tidy upright file. The box already has the right proportions. All you remove is the top and a wedge from the front.
The cutting is the quick part. What makes the holder last is the work that follows: stiffening the base and spine, and covering the printed card so it looks like something you chose for the shelf.
Pick the right box
Cereal boxes are made of thin, single-layer card, so the size and stiffness of the box decide what it can carry. A large family-size box is deeper, taller and usually made of slightly heavier card, which makes it the better choice for a stack of glossy magazines. A standard box is fine for notebooks, workbooks, mail and loose sheets.
Before you start, stand a magazine inside the box. It should fit between the wide panels with a little room to spare. Choose a box that is clean and dry inside, with no grease marks and no crushed corners. Shake out any crumbs and remove the inner bag.
What you need
- 1 empty cereal box, family size for magazines
- Pencil and ruler
- Sharp scissors, or a craft knife and cutting mat
- Extra card for reinforcing: a second cereal box or a piece of corrugated cardboard
- White (PVA) glue or a glue stick, plus a few clothespins
- Decorative paper, a fabric remnant or acrylic craft paint
- Masking tape
- A small rectangle of plain card for the label holder
Mark the cutting lines
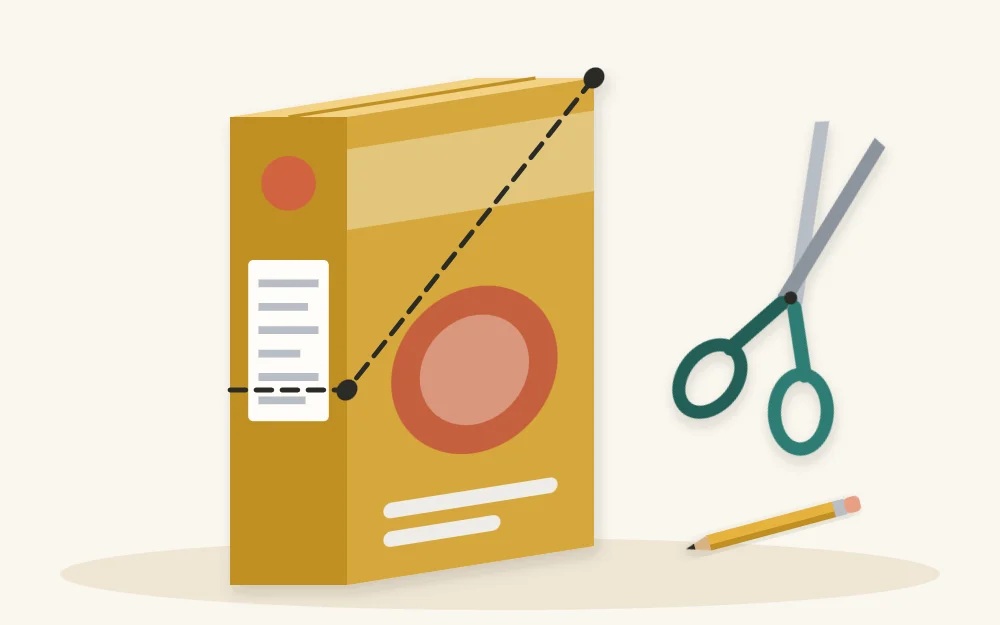
Stand the box upright with one narrow side facing you. That narrow side will be the low front of the holder. The opposite narrow side stays full height and becomes the spine that faces out from the shelf.
- On the front narrow side, measure about 4 in (10 cm) up from the base and draw a line straight across.
- Turn the box so a wide panel faces you. Draw a diagonal line from the top corner at the back edge down to the end of the line you just drew on the front edge.
- Repeat on the other wide panel, checking that both diagonals start and finish at the same heights.
Make the four cuts
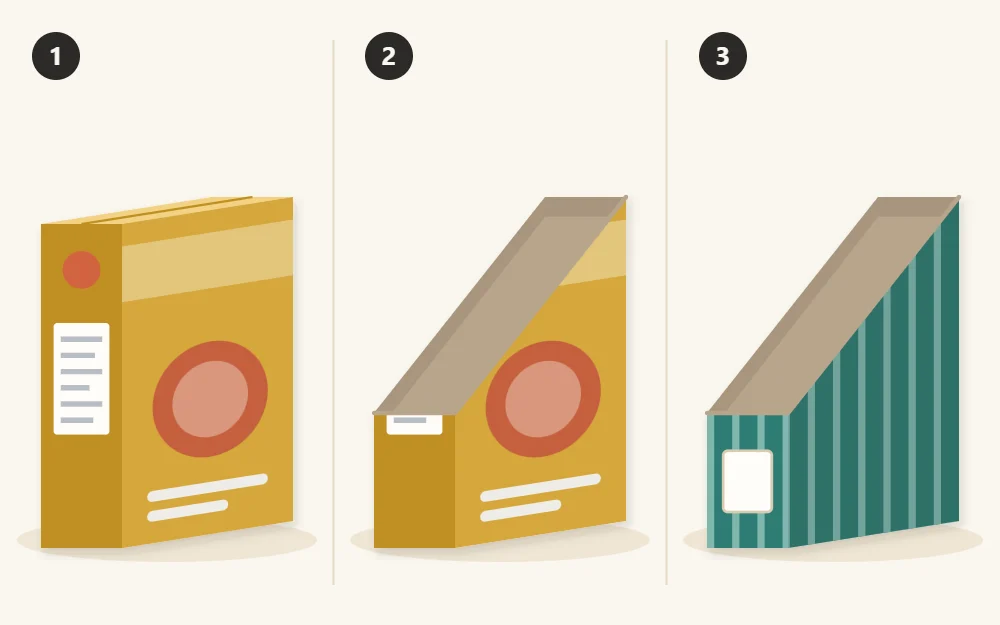
- Top flaps: cut off all four flaps level with the top of the box.
- First diagonal: starting at the top back corner, cut down the line on one wide panel.
- Front: cut straight across the narrow front panel along your pencil line.
- Second diagonal: cut back up the line on the other wide panel. The wedge lifts away in one piece.
Scissors handle this card well. If you use a craft knife instead, slide a cutting mat or scrap of thick cardboard inside the box, make several light passes and keep your free hand behind the blade. An adult does the knife work when children are helping.
Keep the wedge you removed. It supplies most of the card you need for the next step.
Reinforce the base and spine
Paper is heavy, and a single layer of thin card will bow under it. Two extra pieces solve this.
- Base: measure the inside of the base and cut a rectangle to fit. Corrugated cardboard is best here. Glue it flat inside the bottom and press it down with a can or jar while it dries.
- Spine: cut a strip of card the same width as the tall narrow panel and almost as long. Glue it to the inside of the spine and hold it with clothespins at the top edge.
Run masking tape along the bottom seams on the outside, where the factory glue flaps meet, so they cannot spring open later. For glossy printed card that resists white glue, the guide to the best glue for recycled crafts explains which adhesive to switch to.
Cover the outside
You can cover the holder in three ways.
- Paper: wrapping paper, maps, plain brown paper or wallpaper offcuts all work. Wrap one long piece around the base and sides, then trim it along the diagonal, leaving about 1/2 in (1.3 cm) to fold over the cut edge to the inside.
- Fabric: thin cotton gives a softer look. Spread glue thinly on the box, not on the fabric, and smooth from the center outward.
- Paint: brush on a coat of white acrylic craft paint first to hide the printing, then one or two coats of your color.
Folding the covering over the cut edges hides the raw card and adds stiffness exactly where hands will grab the holder.
Tip
Thin card curls when one side gets wet with glue or paint. Use glue sparingly, and stuff the holder with books or a folded towel while it dries so the sides stay straight.
Add a blank label holder
A label pocket lets you change what the holder is for without redoing the cover. Cut a rectangle of plain card about 1 1/2 x 3 in (4 x 7.5 cm). Put a thin line of glue along the two long sides and one short side, leaving the center and the other short side dry, and press it onto the spine with the open end at the top.
Once it is dry, slide a slip of paper into the pocket. Write the contents on the slip, and swap it whenever the holder gets a new job.
Use it and make more
Load the holder with the heaviest items toward the spine, and avoid packing it so tightly that the sides bulge. Two or three holders in matching paper look like a set, and clipping neighbors together with a binder clip at the back keeps them from tipping.
The same box-cutting habit is useful elsewhere at a desk. Short trays cut from boxes fit inside custom cardboard drawer dividers, and the card left over from this project is enough for the cover of a cereal box notebook.
Frequently asked questions
Will a cereal box hold heavy magazines?
A reinforced family-size box holds a modest stack, roughly as many magazines as slide in without forcing. For a long run of thick, glossy issues, glue a second layer of card inside both wide panels as well, or build the holder from corrugated cardboard instead.
How tall should the front of the holder be?
About four inches suits most boxes. A lower front makes it easier to pull papers out but gives less support, so loose sheets may slump. A higher front, around six inches, holds floppy items upright and suits thin notebooks and mail.
How do I stop the printing from showing through the cover?
Thin or pale paper lets bold box graphics show. Either brush a coat of white acrylic craft paint over the box and let it dry before covering, or turn the problem around by gluing a layer of plain scrap paper on first, then the decorative layer.

