Painted Jar Vases: A Simple Way to Reuse Glass Jars
Turn clean food jars into opaque vases with acrylic craft paint: how to prepare the glass, brush on thin even coats, add optional finishes and look after the result.
Tutorial at a glance
Materials
- 2 or 3 clean glass food jars, labels removed
- Acrylic craft paint in 1 to 3 colors
- Rubbing alcohol or dish soap
- Paper tubes to use as painting stands
- Clear water-based sealer (optional)
- Scrap paper or cardboard to cover the table
Painted jar vases are about as simple as a jar project gets: a clean glass jar, a few thin coats of acrylic craft paint on the outside, and some patience while each coat dries. The result is an opaque vase in whatever color suits the room, made from a jar that was already in your kitchen.
The paint goes on the outside only. That keeps the inside bare glass, so it can still hold water for fresh stems, and it means the finish never sits in the water.
Choose and check your jars
Use jars that held food, such as pasta sauce, pickles, jam or olives. Skip any jar that held chemicals or anything you cannot identify. Run a fingertip carefully around the rim and look over the body for chips and cracks, and set aside any jar that has them.
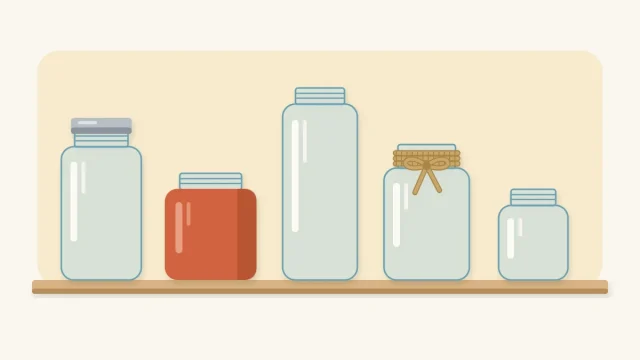
Shape matters more than size. Straight-sided jars are the easiest to paint evenly. Jars with shoulders and narrow necks hold stems more upright, and raised lettering or ridges become a feature once they are painted. For help deciding which jars are worth keeping, see the guide to cleaning, prepping and decorating glass jars.
What you need
- Two or three clean glass food jars
- Acrylic craft paint in one to three colors
- A flat, soft brush about 3/4 in (2 cm) wide
- Rubbing alcohol and a lint-free cloth, or dish soap and warm water
- Paper tubes or tall cans to use as painting stands
- Fine sandpaper (optional)
- Clear water-based sealer (optional)
- Scrap paper or cardboard to protect the table
Prepare the glass
Paint grips clean glass and slides off greasy glass, so preparation decides how the finish turns out.
- Wash each jar in warm soapy water, rinse and dry it completely.
- Take off the label and every trace of adhesive. The method for removing labels and sticky residue from jars covers this step by step.
- Wipe the outside with rubbing alcohol on a cloth, or wash it once more with dish soap and dry it with a clean towel.
- From here on, handle the jar by the rim or from the inside so fingerprints stay off the surface.
Watch out
Use rubbing alcohol and paint in a room with good air flow, with a window open if you can. Keep the alcohol capped between uses and out of reach of children.
Paint thin coats
Stand a paper tube upright on your covered table and lower the jar over it, upside down. The jar is now raised off the table, you can turn it by the tube without touching wet paint, and the rim stays clean.

- Load the brush lightly and wipe the excess on the edge of the pot.
- Brush from the base toward the rim in long, straight strokes, turning the jar as you go. Stop just below the screw threads or paint over them, whichever look you prefer.
- Leave the first coat alone. It will look streaky and partly see-through, and that is expected.
- Let it dry to the touch, usually about 30 to 60 minutes depending on the paint and the room.
- Add a second thin coat, brushing around the jar this time so the strokes cross the first layer.
- Add a third coat if you can still see glass when you hold the jar up to a window.
The most common mistake is trying to cover the glass in one thick coat. Thick paint sags, dries slowly and peels more easily. Going back over half-dry paint is the second mistake, because the brush lifts the layer underneath and leaves bare patches.

Optional finishes
Lightly sanded edges
For a worn, farmhouse look, wait until the last coat has dried overnight. Then rub fine sandpaper gently over the raised parts only: lettering, ridges, the shoulder and the edge of the base. A few light strokes are enough to let glass show through.
Clear sealer
A coat of clear water-based sealer gives the paint some extra resistance to scuffs and fingerprints. Brush it on thinly once the paint is fully dry and let it cure for as long as the label directs. Matte sealer keeps a chalky look, while gloss deepens the color.
Color and grouping ideas
A single painted jar looks fine. Three together look planned. A few combinations that work on a shelf or table:
- One color, three heights: paint a tall, a medium and a short jar the same shade.
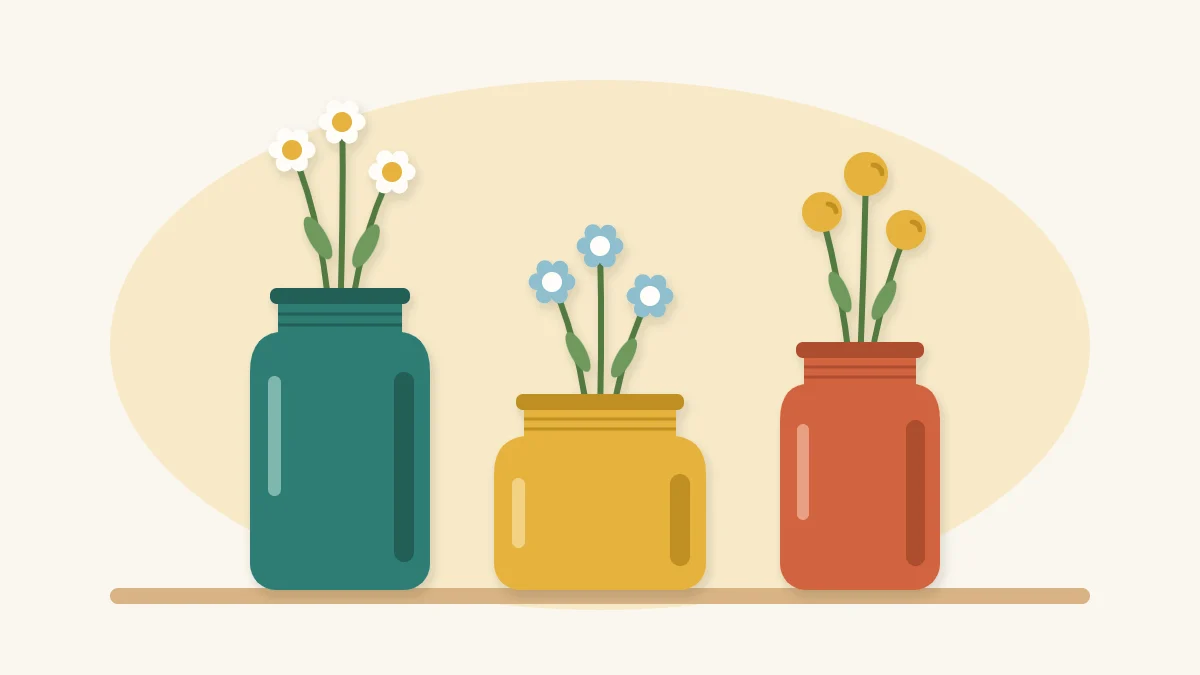
- Three related colors: teal, mustard and terracotta sit well together, as do three tones of blue.
- White and one accent: two white jars and one bright one keep the group calm.
- Dipped look: run masking tape around the jar and paint only the lower half, then peel the tape while the last coat is still slightly soft.
Keep the stems simple. A few flowers, a branch or dried grasses suit an opaque vase better than a full bouquet, and the narrow mouth of most jars holds them in place.
If you would like some jars to glow instead of holding stems, the same clean jars can become jar lanterns lit with battery LED lights.
Using and caring for painted jars
Acrylic paint on glass is a decorative finish. It holds up well on a shelf but can scratch or lift if it is scrubbed or left wet for long.
- Fill the vase from a pitcher so water does not run down the outside.
- Wipe the outside with a soft, barely damp cloth. Do not soak the jar or put it in a dishwasher.
- Rinse the inside by swirling water around and pouring it out, then dry the rim.
- Stand the jar on a coaster or saucer if it will sit on a surface that marks easily.
- Use painted jars for flowers, dried stems and display, not for food or drinks.
If a jar chips or you grow tired of the color, a light sanding and a fresh coat or two will give it a new look.
Frequently asked questions
Why is my paint streaky on the glass?
A first coat of acrylic on glass almost always looks streaky because the surface is so smooth. Let it dry fully, then add a second and third thin coat with a soft flat brush. Streaks that remain usually come from brushing over paint that has started to set.
Can I paint the inside of the jar instead?
Paint poured or brushed inside gives a glossy look from outside, but the jar can then only hold dry stems, because water would sit against the paint. For a vase that holds water, keep the paint on the outside and leave the inside as bare glass.
Do I need a primer for glass jars?
Not for a decorative vase. Clean, grease-free glass and several thin coats are enough for most acrylic craft paints. Some paints are labeled for glass or multi-surface use and grip a little better, and a clear water-based sealer on top adds scuff resistance.