Jar Storage Ideas: Organize Craft and Desk Supplies
How to use clean glass jars for buttons, beads, ribbon, pins, clips and brushes: matching jar size to contents, color-coding lids, changeable labels, trays and sensible stacking limits.

The best jar storage ideas start from one plain advantage: you can see what is inside. A glass jar of buttons needs no label to tell you it holds buttons, and a quick look shows whether you are running low on paper clips.
This guide is about craft and desk supplies only, the small loose items that drift to the bottom of drawers. It covers matching jars to contents, color-coding lids, labeling, and keeping a group of jars tidy and steady on a shelf.
Start with clean, sound jars
Use jars that held food, with rims and lids intact. Hold each one up to the light and run a finger carefully around the rim. Any jar with a chip or crack goes back in the recycling bin, since damaged glass can break under ordinary handling.
Wash jars and lids in warm soapy water, rinse and dry them completely, inside and out. Lids often hold on to food smells; leaving them open in fresh air for a day or two usually helps. A damp jar is a poor home for metal pins, clips or anything made of paper.
Bare glass shows the contents best, so it is worth taking the labels off properly. The steps are in the guide on how to remove labels from jars. For more on choosing and preparing jars in general, see the foundation guide to glass jar crafts.
Match the jar to what it holds
Sort your jars by size before you sort your supplies. Three rough groups cover most needs, and keeping each kind of item in the same size of jar makes the whole shelf easier to read.
| Jar size | Typical source | Good for |
|---|---|---|
| Small, up to 4 oz (120 ml) | Spice, jam sample and baby food jars | Beads, pins, paper clips, thumbtacks, small screws |
| Medium, 8 to 16 oz (240 to 475 ml) | Jam, salsa and pickle jars | Buttons, ribbon spools, clothespins, rubber bands, erasers |
| Tall, 24 oz (700 ml) or more | Pasta sauce and large pickle jars | Brushes, pencils, markers, knitting needles, rulers |
Wide-mouth jars are worth setting aside for anything you reach into with your fingers, such as buttons. Narrow-neck jars suit items you pour out, such as beads.
Leave tall jars without lids when they hold brushes or pencils, and store brushes with the bristles up. For sharp items such as pins and needles, choose a jar with a lid that closes firmly, and keep it where young children cannot reach it.
Color-code the lids
Painted lids turn a mixed collection of jars into a set, and they give you a second way to find things. Pick one color per category, for example blue for sewing, yellow for desk supplies and red for hardware, and you can spot the right group before you can see the contents.
- Wash and dry the lids. Rub the top lightly with fine sandpaper so paint grips the smooth metal, and wipe away the dust.
- Set each lid on a scrap of cardboard. Brush on a thin coat of acrylic craft paint, covering the top and the outer rim only.
- Let it dry for about an hour, then add a second thin coat. A third may be needed over dark printing.
- Leave the lids overnight before screwing them back on, so the paint on the rim does not stick to the glass threads.
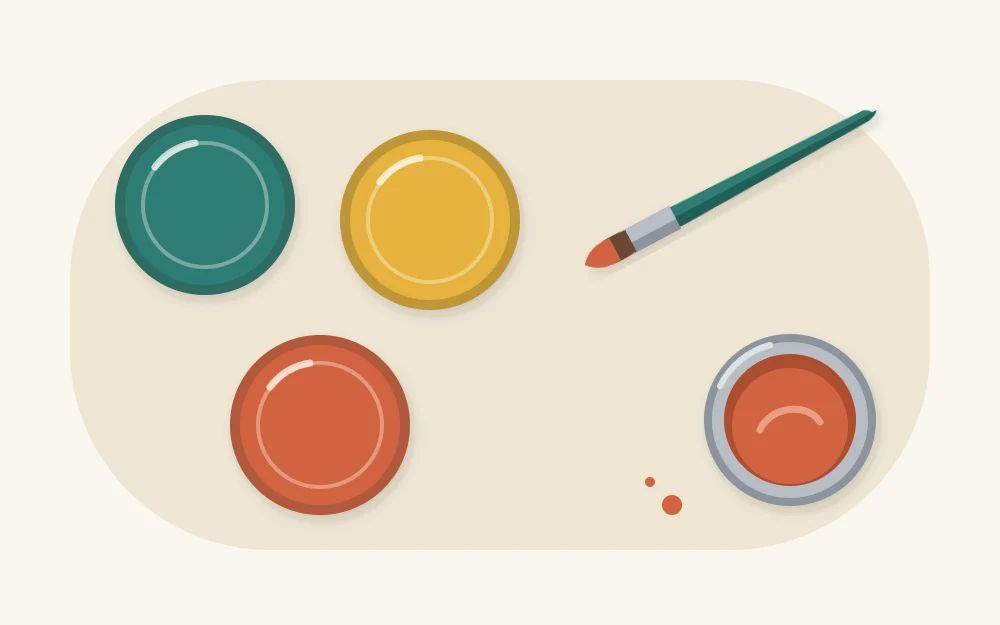
If you would rather not paint, trace the lid onto decorative paper or a fabric remnant, cut out the circle and glue it to the top with white glue. A band of colored tape around the rim works too, and is the quickest option of all.
Tip
Paint in a room with an open window, and keep paint off the inside of the lid. The inner seal should stay clean so the lid still closes properly.
Add labels you can change
Clear glass handles most of the labeling for you, but a label helps when contents look alike, such as needle sizes or different kinds of screws, and when jars sit above eye level.
- On the lid: a paper circle glued to the top is easy to read when jars are stored in a drawer or a deep box and seen from above.
- On the side: a strip of masking tape written on with a permanent marker peels off cleanly when the contents change.
- On a tag: a small cardboard tag tied around the neck with twine suits jars that are refilled often.
Keep labels blank until the jar is filled and in place.
Corral small jars in a tray
A dozen separate jars on a desk look cluttered and are easy to knock over. The same jars standing together in a tray read as one object, and the whole group can be lifted out of the way at once.
A shallow cardboard box makes a simple tray. Cut the sides of a sturdy box down to about 2 in (5 cm), which is tall enough to hold the jars and low enough to show their contents. The lid of a shoebox works without any cutting.

Inside a drawer, small jars stay upright better when each has its own compartment. A grid of cardboard drawer dividers sized to the jars stops them from rolling and clinking when the drawer opens.
Know the limits of stacking and shelving
Jars are heavier than they look once filled, especially with metal hardware. A few sensible limits prevent breakage.
- Stack no more than two jars high, and only jars of the same size with flat lids. Put the heavier one underneath.
- Keep jars toward the back of a shelf, not along the front edge.
- Store heavy jars, such as those full of screws or nails, on low shelves.
- Avoid shelves above a bed, a desk chair or a walkway.
Watch out
If a jar does break, discard the contents along with the glass. Small items such as beads and buttons can hide fine splinters.
Keep the system working
Storage only helps if things go back where they came from. Give every category one jar and resist starting a second “miscellaneous” jar, which tends to fill with everything.
When a jar overflows, move the contents up a size instead of pressing the lid down harder. When a jar sits nearly empty for months, combine it with a related one and free up the space.
Frequently asked questions
How do I keep pins and paper clips from rusting in a jar?
Make sure the jar and lid are bone dry before filling, and store the jar away from sinks, windows with condensation and other damp spots. Closing the lid keeps humid air out. If you notice moisture inside the glass, tip the contents onto a towel, dry everything and start again.
What can I do with jars that have lost their lids?
Lidless jars work well as open holders for items you grab often and that do not spill easily, such as brushes, pencils, scissors, rulers and knitting needles. Stand them in a tray or toward the back of a shelf so they are harder to knock over, and skip them for small loose items.
Can I use plastic jars instead of glass?
Yes, clean plastic food jars are lighter and will not shatter, which makes them a practical choice for high shelves, children's craft areas and heavy hardware. They scratch and cloud more easily than glass, so contents may be harder to see over time. Wash and dry them the same way.