Jar Gift Ideas: Craft Kits and Keepsake Jars to Assemble
Four non-food gifts to assemble in clean glass jars: a sewing kit with a pincushion lid, a paper bead kit, a notes jar and a seed-starting kit, with steps for the lid and tag.
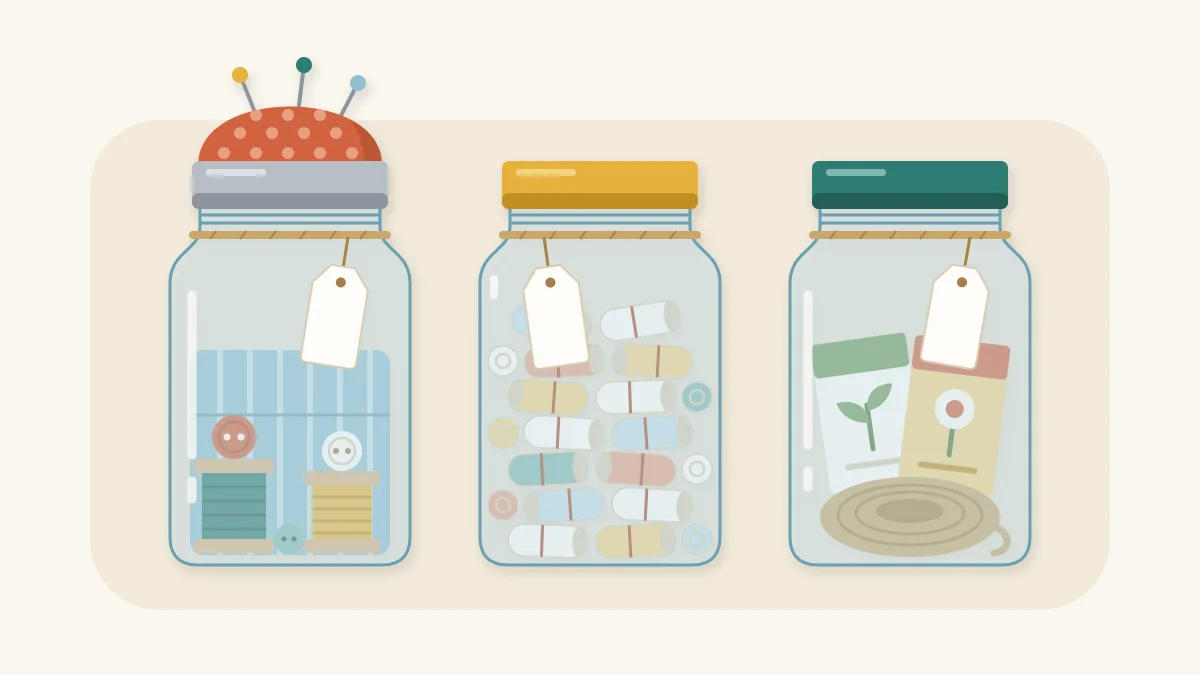
Tutorial at a glance
Materials
- 1 clean glass jar with lid per gift
- Fabric remnant, about 6 x 6 in (15 x 15 cm)
- A handful of stuffing or snipped fabric scraps
- Thin cardboard from a cereal box
- Scrap paper strips, about 3/4 x 4 in (2 x 10 cm)
- Twine and card for a tag
- Kit contents: thread, needles, beads or seed packets
A clean glass jar is a ready-made gift container: it shows what is inside, closes firmly and stays useful after the contents are gone. The jar gift ideas below are all non-food kits you can assemble from craft supplies and leftover materials in an evening.
There are four of them: a mini sewing kit with a pincushion lid, a paper bead craft kit, a notes jar filled with rolled paper slips, and a seed-starting kit. The pincushion lid gets full steps because it is the only part that takes real making.
What you need
- Clean glass food jars with lids, in sizes that suit the contents
- A fabric remnant, about 6 x 6 in (15 x 15 cm), for a pincushion lid
- A handful of stuffing: polyester fill, cotton balls or snipped fabric scraps
- Thin cardboard from a cereal box
- Low-temperature glue gun or tacky glue
- Needle, thread, scissors and a pencil
- Paper scraps, twine and a piece of card for a tag
Choose and prepare the jars
Use only jars that held food, such as jam, sauce or pickles. Wash them in warm soapy water, rinse and let them dry completely, lid included, because trapped moisture will spoil paper and thread. Run a finger carefully around the rim and set aside any jar with a chip or crack.
Remove the label and wash the lid until it no longer smells of what was in the jar. The guide to cleaning and prepping glass jars covers lids that hold on to an odor and the main ways to decorate the glass itself.
Match the jar to the kit. A short, wide jar suits sewing supplies, and a tall one suits seed packets.
How to make a pincushion lid
This works on a two-part mason jar lid, where the flat insert lifts out of the ring. For a one-piece lid, cut a cardboard circle slightly smaller than the lid top, pad that instead and glue it on at the end.
- Trace the lid insert onto thin cardboard and cut out the circle. Then cut a fabric circle about 1 1/2 in (4 cm) wider than the insert all around.
- Sew a line of long running stitches around the fabric circle, about 1/4 in (6 mm) from the edge. Leave both thread ends long and do not knot them.
- Lay the fabric face down, place a ball of stuffing about the size of a small egg in the center and set the lid insert on top.
- Pull the thread ends so the fabric gathers up over the insert. Add or remove stuffing until the dome feels firm, then tie the threads off.
- Glue the cardboard circle over the gathered fabric on the underside to hide the raw edges. An adult should handle the glue gun when crafting with children.
- Press the padded insert up into the ring from below, run a thin line of glue around the inside of the ring to hold it, and screw the lid onto the jar.

Tip
Tightly woven cotton holds pins better than stretchy knit fabric, and a firm dome works better than a soft one. Pack in more stuffing than seems necessary before tying off.
Mini sewing kit jar
With the pincushion lid done, the inside is quick to fill. Aim for a mending kit rather than a full sewing box:
- Two or three small spools or cards of thread in neutral colors
- A few hand needles pushed through a scrap of felt
- Spare buttons in a small paper envelope
- Safety pins and a short tape measure
- Small scissors with a cap or a folded card sleeve over the points
Wind loose thread around small cardboard rectangles with a notch cut in each end to keep it from tangling.
Paper bead craft kit
This jar holds everything for a first bracelet or keychain. Fill it with a batch of rolled beads, a length of elastic or waxed cord, a blunt needle with a large eye and a short instruction card written by hand.
You can supply finished beads or precut paper triangles with a toothpick, so the rolling is part of the project. The tutorial on how to make paper beads from magazine pages explains the strip sizes, rolling and sealing. Let sealed beads dry fully before they go in the jar, or they will stick together.
Notes or prompts jar
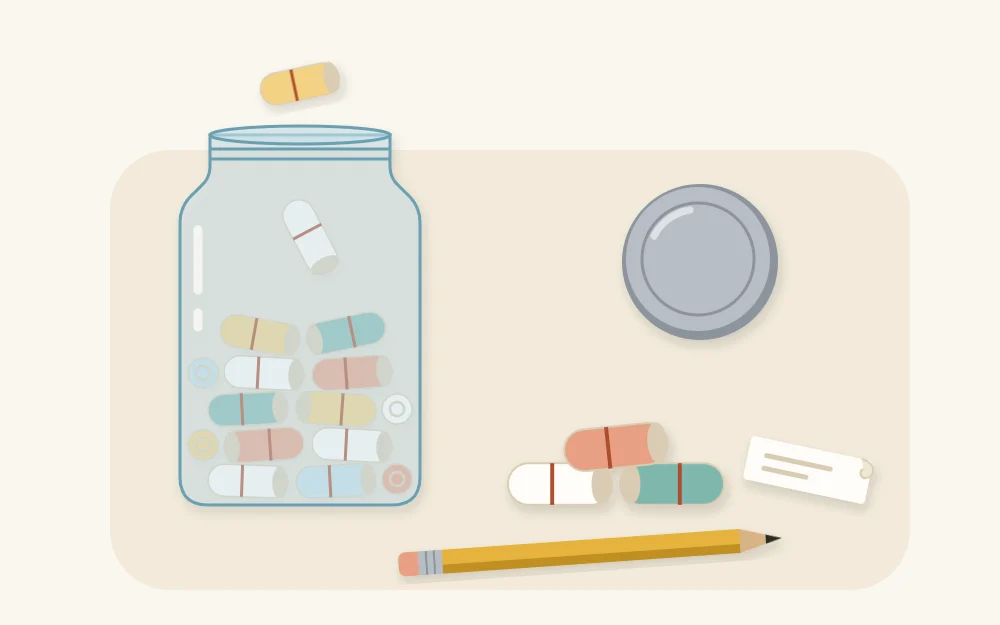
A notes jar is a jar of small rolled paper slips, each with one handwritten line. The theme is yours to choose: memories, reasons, drawing prompts, journal questions or ideas for a free afternoon.
- Cut plain or lightly patterned scrap paper into strips about 3/4 x 4 in (2 x 10 cm).
- Write one note or prompt on each strip in pencil or pen and let any ink dry.
- Roll each strip around a pencil, slide it off and tie it with thread or seal the end with a dot of glue stick.
- Drop the rolls into the jar until it is loosely full. Twenty to forty slips fill a small jam jar.
Seed-starting kit jar
For someone with a windowsill or balcony, pack two or three seed packets, a coil of garden twine, a few plant markers cut from cereal box card and a pencil stub. Keep the seeds in their original sealed packets so the sowing directions stay with them.
Everything in this jar must stay dry. Do not add soil or a damp peat pellet, and tell the recipient the jar is packaging rather than a pot, since it has no drainage.
Decorate the lid and add a tag
A printed lid looks finished once it is covered. Glue on a circle of paper or fabric, or brush on two thin coats of acrylic craft paint and let each one dry. Painting and covering are for the outside of the lid only.
Cut a tag from cereal box card, punch a hole and tie it around the neck with twine. Write what the kit is and, for the bead and seed kits, a one-line starting instruction. For the outer layer, the recycled gift wrap ideas include fabric wraps and paper options that suit a round, heavy object like a jar.
Watch out
Sewing and bead kits contain pins, needles and small parts. Keep them away from young children and pets, and say so on the tag if the gift is going to a family home.
Frequently asked questions
What can I put in a gift jar besides food?
Small, dry items that share one purpose work well: mending supplies, beads and cord, rolled notes or prompts, seed packets with twine and markers, or desk supplies such as clips and erasers. Pick things that fit through the jar mouth easily and will not be damaged by sitting against glass.
Can I make a pincushion lid on a one-piece jar lid?
Yes. Cut a cardboard circle slightly smaller than the top of the lid, gather the fabric and stuffing over that circle, then glue the padded piece onto the lid. It sits on top instead of inside a ring, so use enough glue around the edge and let it set before handling.
How many paper slips fit in a notes jar?
It depends on the jar and how tightly you roll, but a small jam jar is loosely filled by roughly twenty to forty slips rolled around a pencil. Roll a few test slips first, drop them in and estimate from there, so you know how many notes to write.

